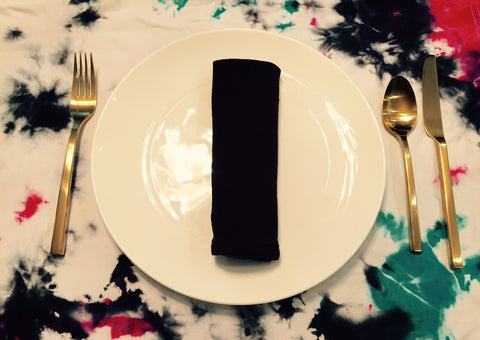
Tie Dye Tablecloth DIY
Go from basic to bold and use brightly coloured fabric dye to update your old tablecloth. This easy tie dye DIY project will produce a fantastic addition to your spring or summer picnic or patio. Start off with a white (or off-white) tablecloth and add your favorite coloured fabric dye into the mix. There are many great tips on how to get the best tie dye results available. The basic materials for a tie dye project are simple and you probably have everything at home already!
Tie Dye Materials:
- Rubber or plastic gloves
- Rubber/elastic bands, cord or string (to apply designs)
- Plastic cover for work area
- Plastic bucket(s), stainless steel bowls, plastic containers etc...
- Plastic squeeze bottles or plastic spray bottles (optional)
- Microwave or kettle
- Measuring cup
- Mixing spoon
- Scissors
- Paper towels or scrap fabric (for testing colour)
Plan the design by selecting the colours you would like to use (dye colour wheel shows the relation between colours) or use your favourite Tintex dyes in an abstract design.
Plan the order you would like the colours to be placed onto your fabric. Decide how you want to create designs: (roll fabric, swirl fabric or fold fabric). Create un-dyed blank space when you secure additional elastic bands (or string) to your fabric.
Squeeze Bottle Tie Dye Method:
- Dissolve 1/4 Cup powder into 1 Cup hot water (to make dyeing solution)
- Add more or less dye depending on your colour intensity needs
- Use a kettle or microwave to bring the water up to a hot temperature
- Have the solution cool slightly before putting into a plastic squirt bottle
- Roll fabric into a tube, or try spinning, swirling or folding where you would like a design and secure with elastic or string (adding more elastic bands or string will add more white (or original coloured areas) to your design).
- Squirt dye on prepared fabric.
- After you have tie-dyed, rinse your item until water runs clear
- Air dry and then wash with like colours
- Clean the workstation asap after dyeing to avoid staining.
Bucket Dipping Tie Dye Method:
- Add dye to approximately 3 gallons of hot water so item is covered
- Stir dyebath until dye is completely dissolved
- Roll fabric into a tube, or try spinning, swirling or folding where you would like a design and secure with elastic or string (adding more elastic bands or string will add more white (or original coloured areas) to your design).
- Dip fabric tube into dyebaths
- If 3 colours are being used, place the lightest colour in the middle of the tube you will be dipping into the dyebath (for example: if yellow, red and blue are being used:
- Dip 1/3 of the item into the blue dyebath first, flip the tube, dip the remaining 2/3 – the remaining white portion into the yellow dyebath, dip the bottom part of the tube into the red dyebath (so that the red dye covers half of the yellow area)
- Immerse in dyebath for 5-10 minutes, remove when it is slightly darker than the desired colour:
- Stir dyebaths occasionally to so they don’t settle
- Rinse item (still in tube shape) in cold water following every time it is removed from a dyebath
- Allow water to run over the dyed area until water rinses clear
- Squeeze item to remove extra water but do not wring
- Carefully remove the rubber bands using scissors
- Allow the item to air-dry and iron at low setting when it is slightly damp
- Clean the work area to avoid staining asap after dyeing.


